Guide to generating high quality vector illustrations with Midjourney
In the digital age, the demand for high-quality vector illustrations has skyrocketed. Whether you're a web designer, content creator, or just someone looking to spruce up a presentation, vector illustrations can add a touch of professionalism and aesthetic appeal to your work.
Midjourney offers a solution. This guide will walk you through the process of creating stunning vector illustrations using Midjourney, ensuring that your visuals stand out and resonate with your audience.
1. The perfect prompt for vector illustrations
The key to generating a captivating vector illustration lies in the prompt you provide to Midjourney. Here's a breakdown:
Subject: Clearly specify the main focus of your illustration.
Add actions to make it dynamic. Examples include:
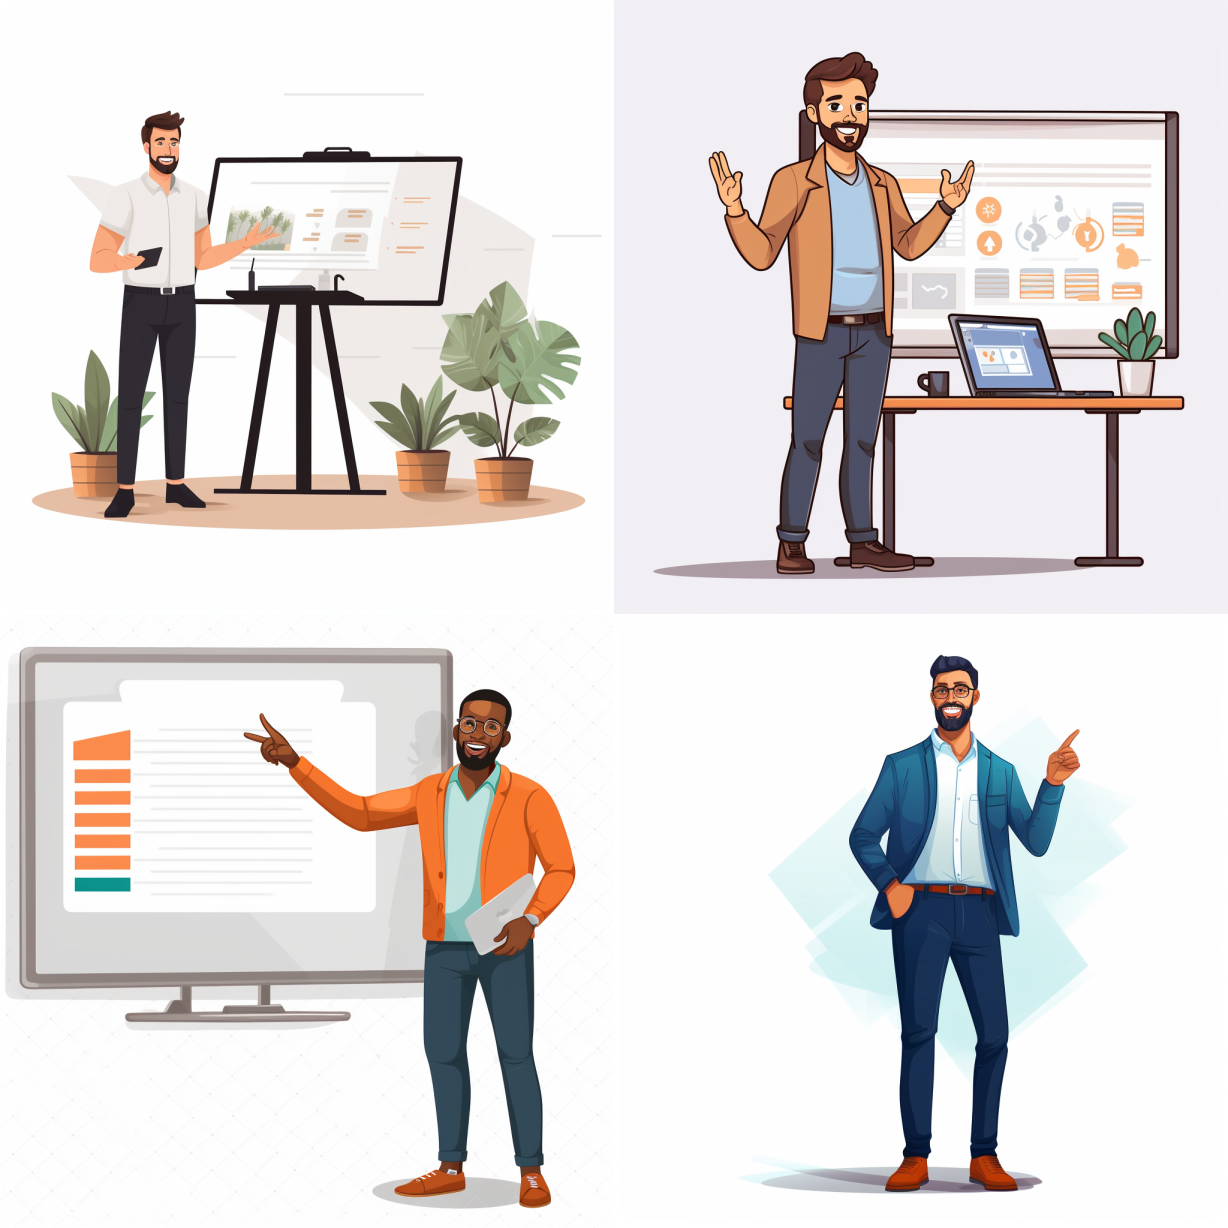
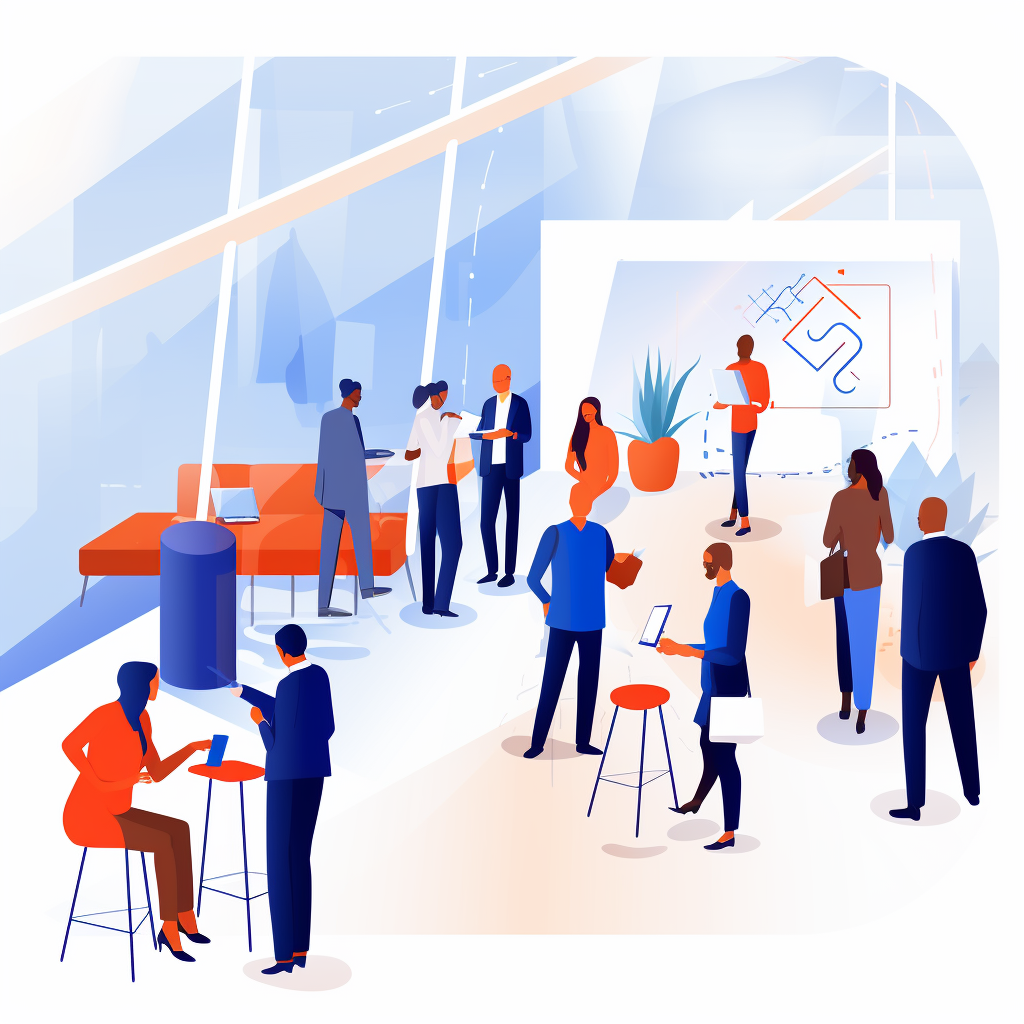
Startup founder presenting
Child flying a kite
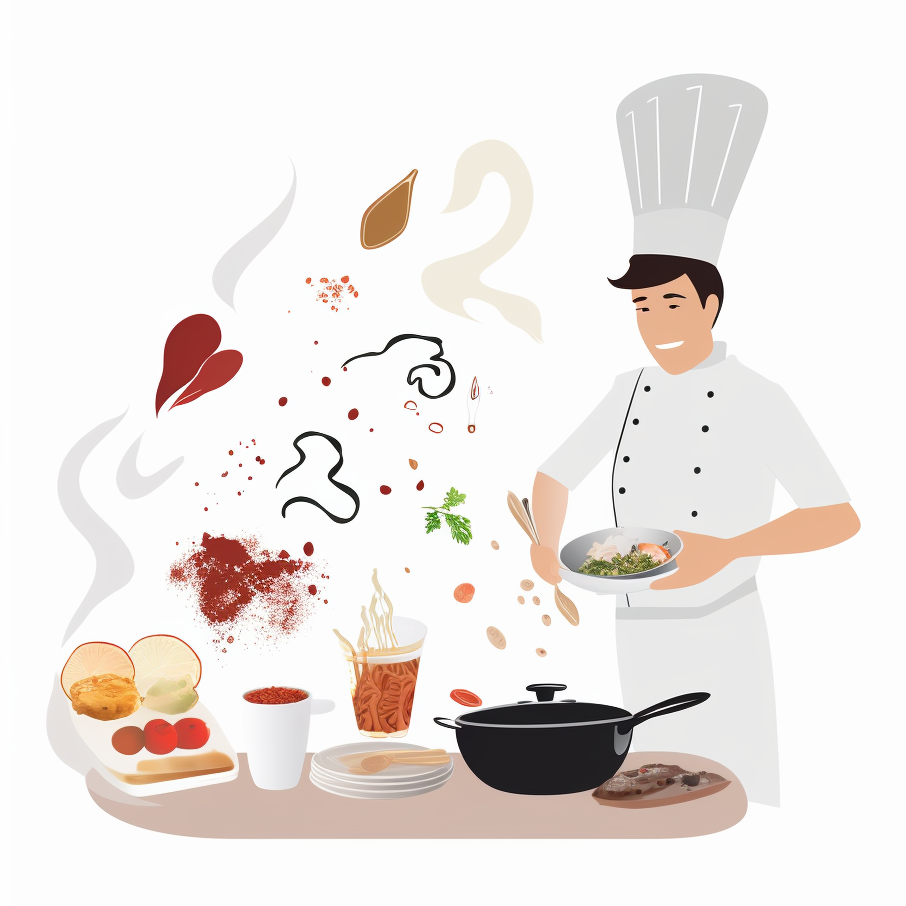
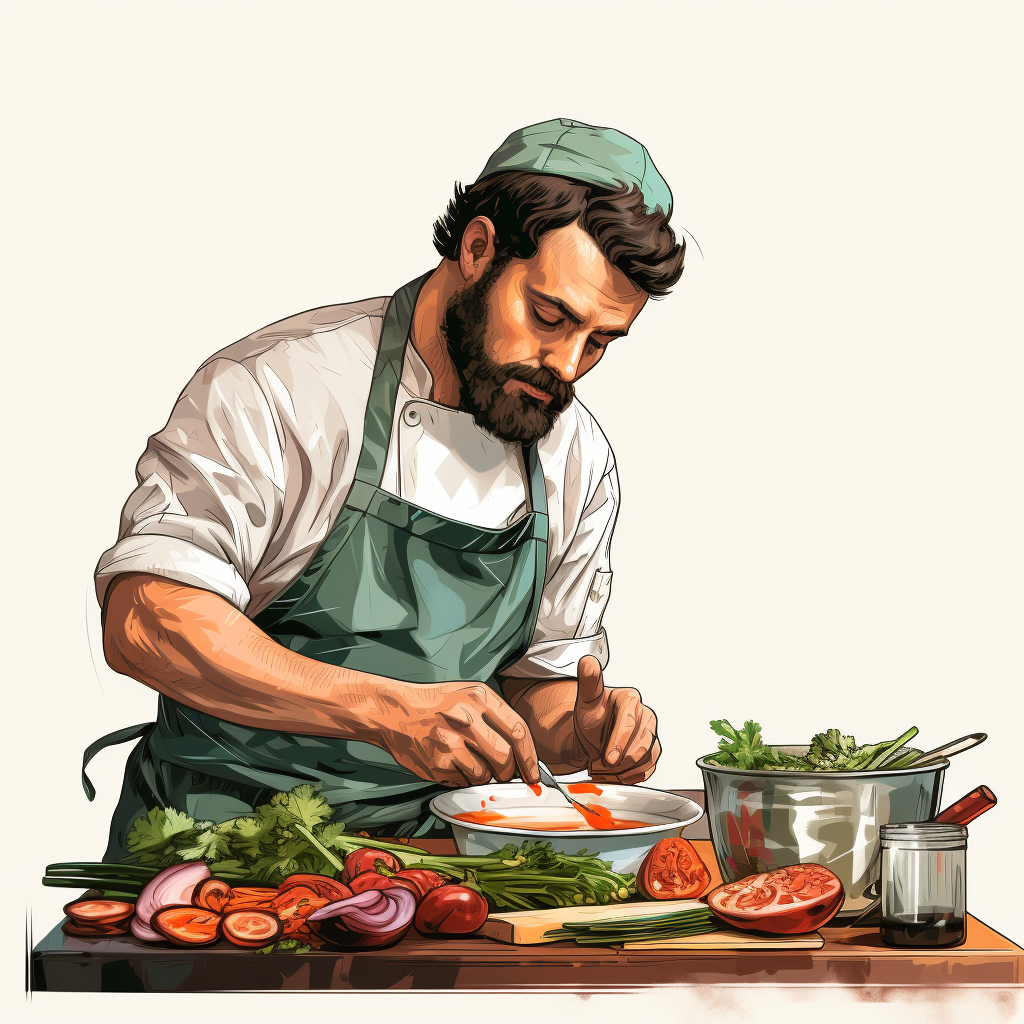
Chef preparing a gourmet dish
Astronaut exploring a new planet
Environment: This sets the mood and ambiance.
Some popular environments are:
Office space
Bustling city street
Serene beach at sunset
Vibrant marketplace
By maintaining a consistent theme, you ensure a unified look across your visuals.
Examples:
png white background, Startup founder presenting, in the style of animated illustrations, Office atmosphere, full body, text-based --style raw --stylize 100
png white background, Child flying a kite, in the style of animated illustrations, serene beach at sunset, full body, text-based --style raw --stylize 100
2. Adjusting image detail
The beauty of vector illustrations lies in their adaptability. Whether you're aiming for a minimalist design or a richly detailed artwork, Midjourney allows you to control the level of intricacy in your illustrations through the "stylize" value. Here's a comprehensive breakdown:
Understanding the "Stylize" Value:
The "stylize" value determines the amount of detail and artistic flair in your generated image. It operates on a scale, with the default set at 100.
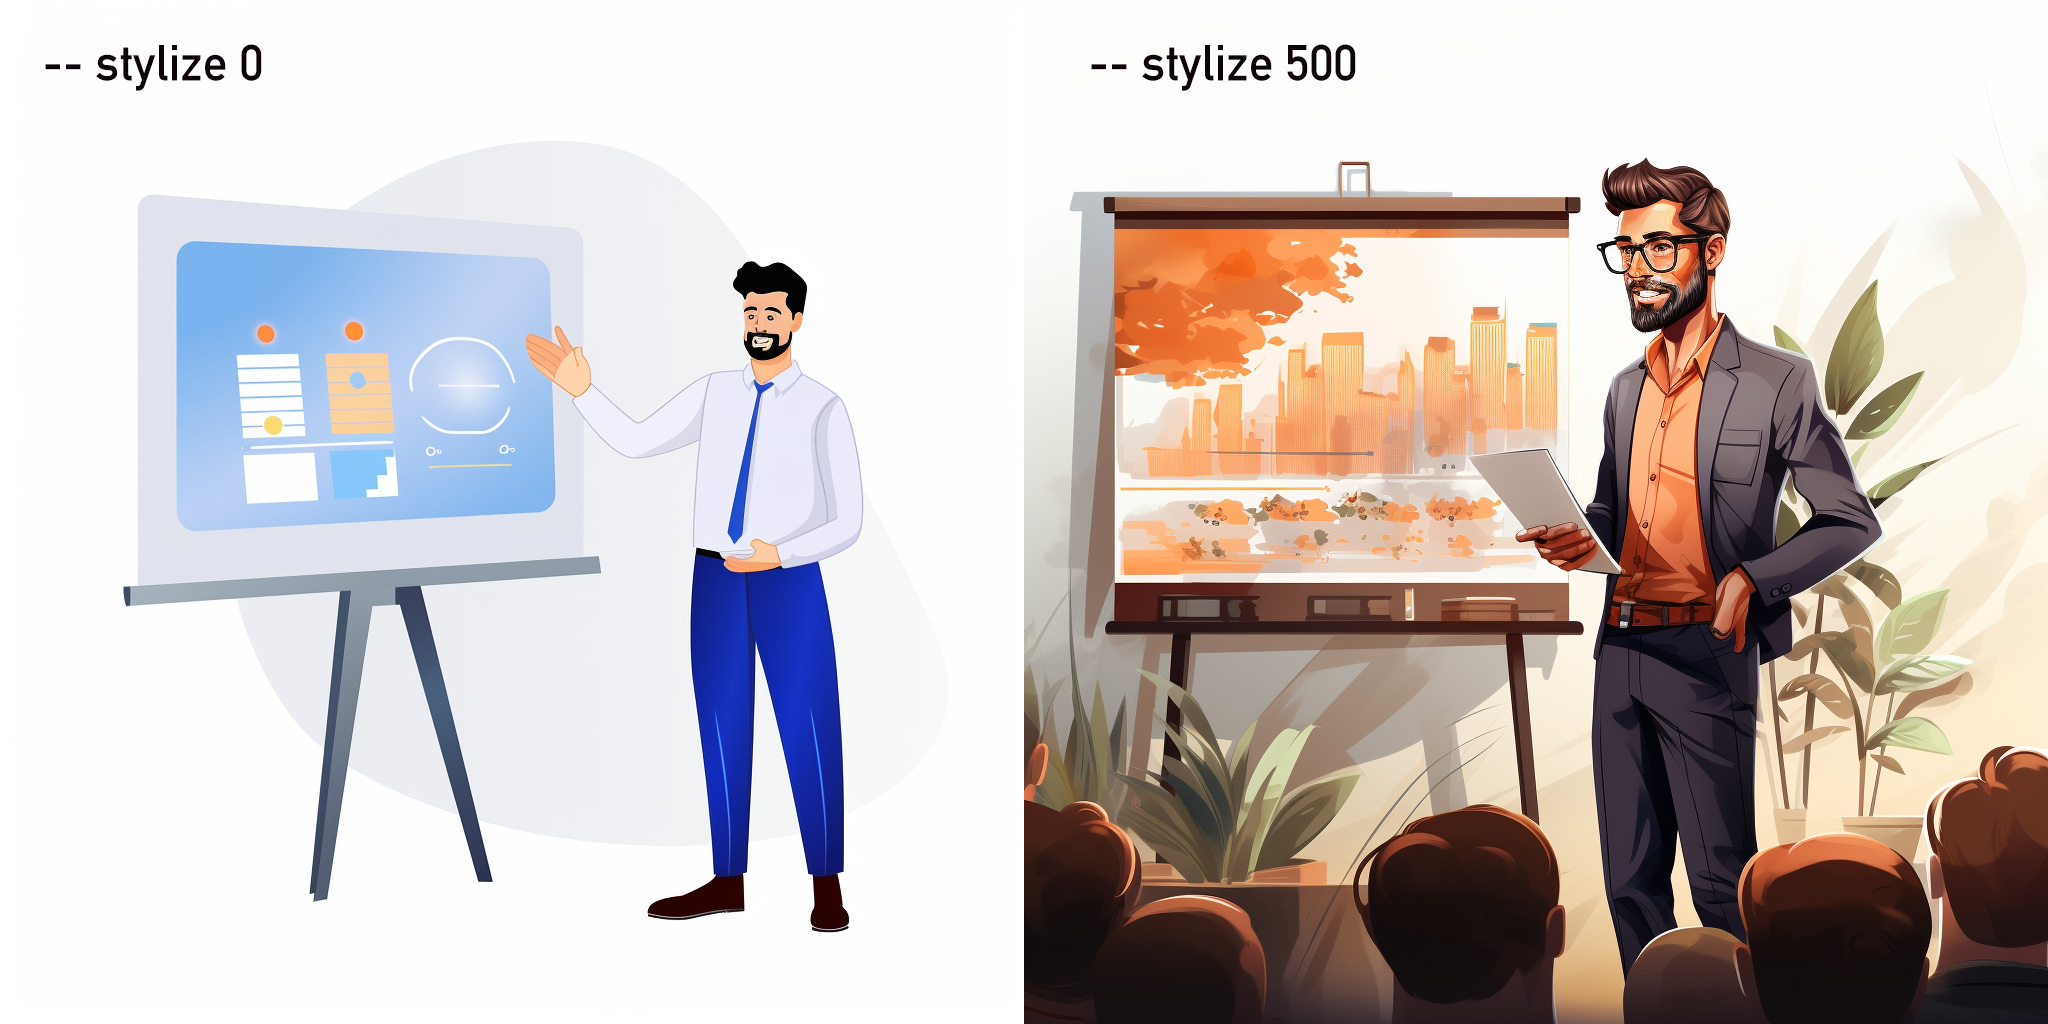
Minimalist and Flat Designs:
If you're aiming for a modern, clean look with fewer details, set the "stylize" value to a lower number.
Example: `--stylize 0` will produce a flat, simple design, ideal for icons or backgrounds where the image shouldn't overpower the content.
png white background, Startup founder presenting, in the style of animated illustrations, Office atmosphere, full body, text-based --style raw --stylize 0
Detailed and Artistic Illustrations:
For projects that require a more intricate and detailed design, increase the "stylize" value.
Example: `--stylize 250` will yield a more detailed image, perfect for standalone artworks or when you want the illustration to be the focal point.
Pushing the value even higher, say `--stylize 500` or `--stylize 1000`, will produce extremely detailed and complex designs, which can be ideal for posters, covers, or any project where the illustration is the main attraction.
png white background, Startup founder presenting, in the style of animated illustrations, Office atmosphere, full body, text-based --style raw --stylize 250
Experimentation is Key:
It's always a good idea to play around with the "stylize" value to see which level of detail aligns best with your project's needs. Since the maximum value is 1000, there's a wide range of possibilities between the minimalist and highly detailed extremes.
Consistency Across Projects:
If you're working on a series or a set of illustrations, maintaining a consistent "stylize" value across all prompts ensures a uniform look and feel. This is especially important for branding or when creating a series of related visuals.
In essence, the "stylize" value in Midjourney is a powerful tool that offers creators the flexibility to dictate the visual complexity of their illustrations. By understanding and leveraging this feature, you can ensure that your illustrations perfectly match the tone and purpose of your project.
3. Themed vector illustrations
A well-defined theme can make your illustrations resonate more deeply with your target audience. Whether it's the entrepreneurial spirit of startups or the whimsical charm of coloring books, a consistent theme ties your visuals together and enhances the overall narrative.
Key features of themed illustrations:
Depending on your theme, your subjects should be emblematic of the message you want to convey.
For startups, it might be:
Entrepreneurs brainstorming ideas
Team celebrating a milestone
For coloring books, subjects could be:
Animals in a forest setting
Mystical creatures in a fairyland
Historical figures and events
Environments tailored to the theme:
The backdrop should complement and enhance your theme
Bustling co-working space
Modern conference room
Innovation lab
Serene garden
Bustling city
Quiet library
Examples:
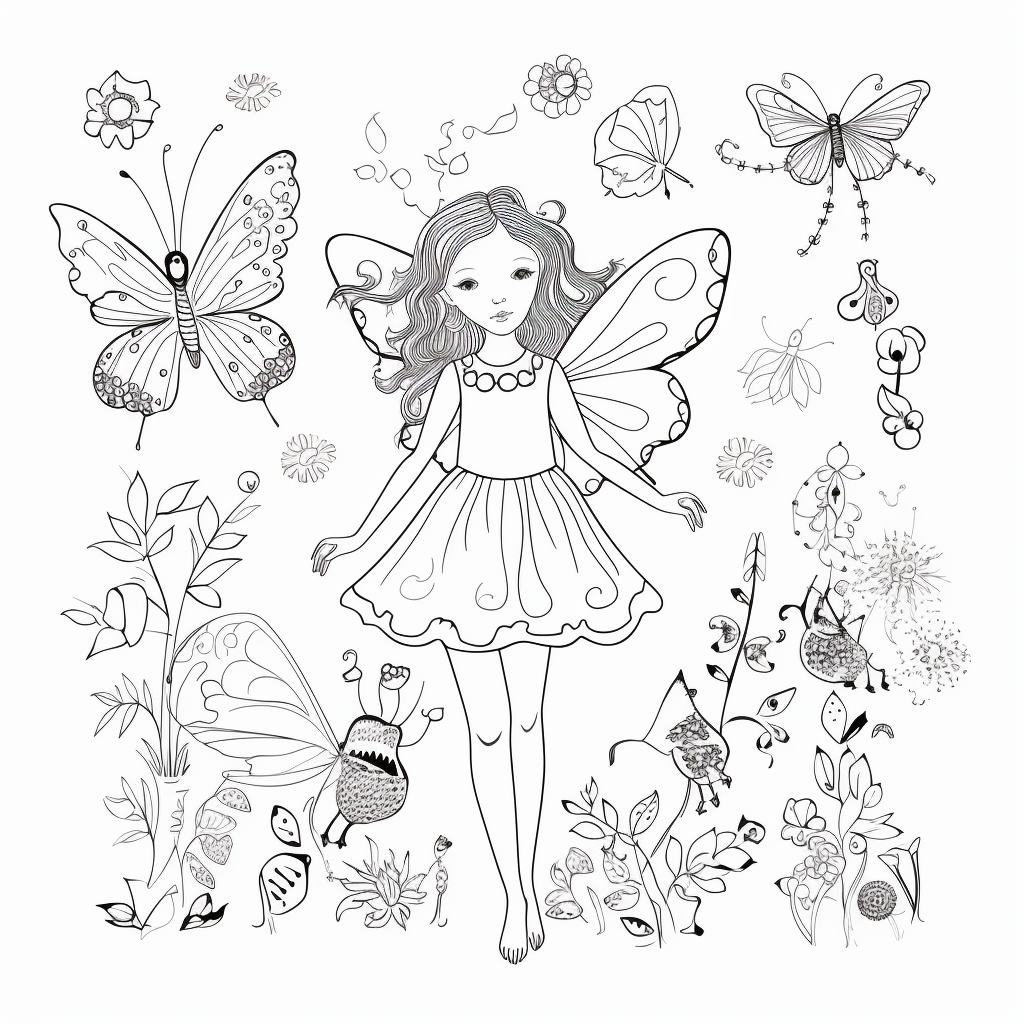

png white background, fairy animals, in the style of big coloring book, summer garden, full body, text-based --style raw --s 0
png white background, product launch event, in the style of big tech illustrations, bustling co-working space, full body, text-based --style raw --s 0
Experimenting with Color Palettes: The color scheme plays a significant role in setting the mood. For startups, you might lean towards bold, vibrant colors that exude energy and innovation. In contrast, coloring books might feature outlines in black with clear spaces, allowing users to fill in their preferred hues.
Consistency is Key: Especially when working on a series or collection, maintaining consistent design elements (like character styles, color palettes, or line thickness) ensures a unified and professional look.
Customizing for Specific Needs: While Midjourney offers a robust platform for generating illustrations, always remember to tweak and refine your prompts based on feedback or specific project requirements. This ensures that your visuals are not only high-quality but also perfectly aligned with your theme and objectives.
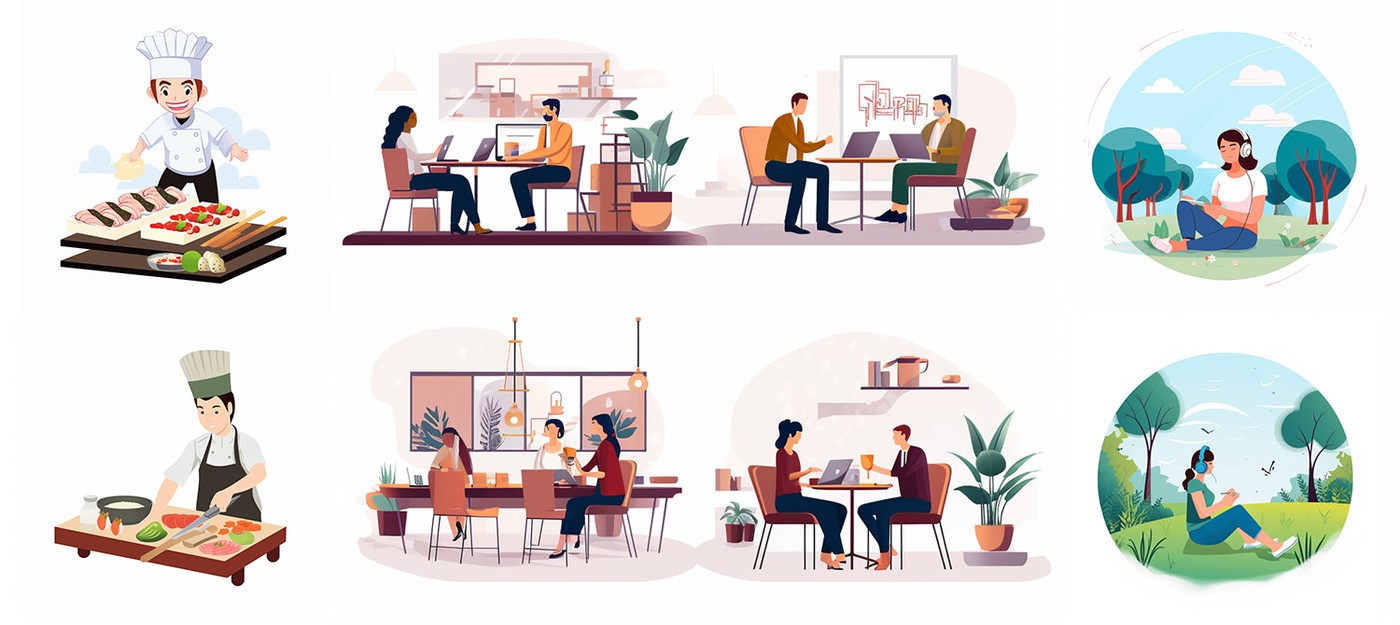
4. Generating a themed illustration pack
For a cohesive set of images, use the following prompt structure:
Specify the number of images (e.g., "4 png images")
Indicate it's a vector pack ("vector illustration pack")
Add stability with "knolling style"
Define the subject and environment
For instance:
4 large png images, vector illustration pack, knolling style, no border, white background, [investor pitch], in the style of animated illustrations, [coworking space], full body --style raw --stylize 50
4 large png images, vector illustration pack, knolling style, no border, white background, [animals in a forest], in the style of animated illustrations, [storybook setting], outline only --style raw --stylize 50
5. Converting images to vector files
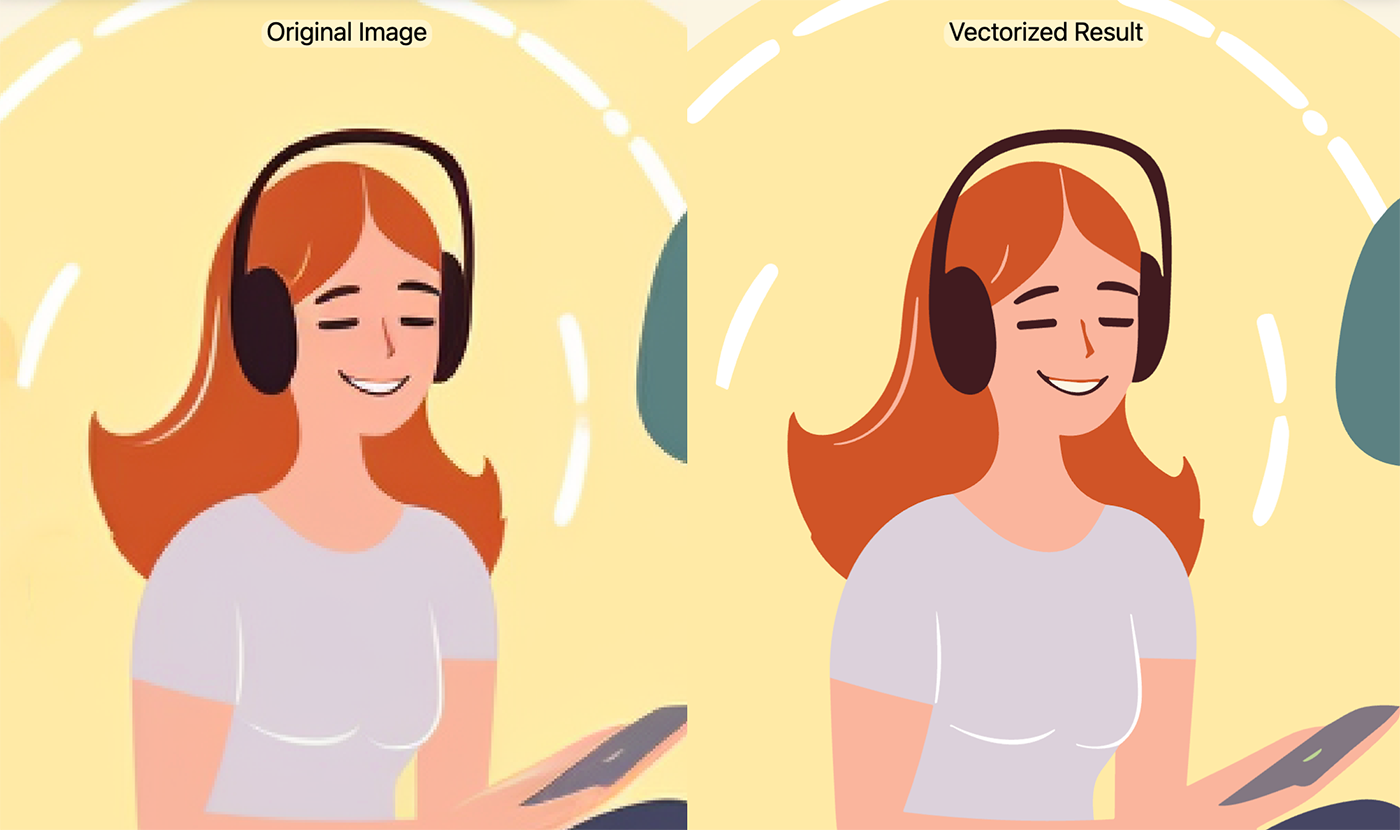
To ensure your illustrations are scalable and web-optimized:
1. Convert raster images to vector format using tools like vectorizer.ai.
2. Benefits of this conversion include:
Scalability without loss of quality
Reduced file size for faster web page loading
Flexibility to style and animate with CSS and Javascript
Happy illustrating!